♥
Yesterday I posted my goals for this new year!
Have you gotten around to deciding yours? Perhaps if you have, you’d like to display them in a place where you’ll constantly be reminded of the promises you’ve made yourself. Ryan + I hung ours in envelopes on the wall just above our head board and I’d love to show you how to do the same!
It’s super simple. Here’s what you need:
1 | Paper for the envelope 2 | Paper for your goals { or card, etc. } 3 | A ruler
4 | Scissors 5 | A pencil 6 | A paintbrush 7 | Glue
Ready? Go!
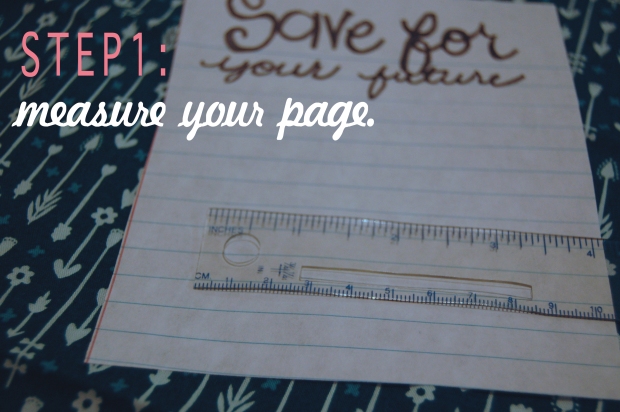
You can make your envelope any size you want. I like to start with measuring the thing I’m putting in the envelope first, that way I know that it will fit perfectly. If you’re doing many { like we did with our Christmas cards }, make a template out of thicker paper like card stock or paper bag so it will last through all of that tracing and you can keep it for future use!
Of course, you could measure with a ruler, too. Whichever works best for you. I have an aversion to measurements so it’s easier for me to just plop the paper down and trace it. If you do trace it, though, make sure that your lines are pretty straight and that you err on the side of extra width rather than your envelope being too narrow. You don’t want to have to trim your pretty pages or card just so you can stuff it in the envelope you so painstakingly made.
Here’s where your measurements come in. Cut your width in half and add that plus a little to each side of the tracing. For example, if my page is 6 inches wide, I will put three and a half inches on each side of the traced area. You’ll need enough space for the two wings to overlap.
Decide how drastic you want your “V” to be, and measure each side equally. I measured straight down the side line about 2 inches, then used the ruler to connect that spot with the top corners of my original tracing. When the two wings are folded in at the end of it, this is the part of the envelope that will allow us to peek inside.
 To measure the top and bottom flaps evenly, find the vertical center of your original tracing and make the two tips on that line depending on how tall or short you want your flaps to be. Keep in mind that you’ll probably want your top flap to cover the deep V you made in step 4. I rounded my top flap after I measured the point appropriately because I thought a softer edge looked nice.
Phew! That was the hard part! Now on to the cutting and pasting…
Just around the outside, now! The inner lines are for folding.
Here’s your envelope! If you’re making a whole bunch, now would be the time to start all the tracing. If it’s just the one, then go ahead and fold!
By using a paintbrush you ensure that the glue will be spread evenly and won’t cause those annoying dimples that drying glue often makes. Just don’t forget to wash your brush out really well when you’re done!
Make sure you cover all of the overlapping areas so the envelope will be higher quality. If there’s excess glue, wipe it away with another piece of plain paper instead of your finger. A finger will often leave a smudge or tiny little fibers. Paper will remove the glue without leaving anything behind. Don’t forget the bottom flap!

When you’ve finished applying the glue, double check for excess glue leaking out of the folds, then stick the envelope under a stack of books so it will dry without the edges curling up. After a bit of time has passed, you’ve got yourself the cutest new little envelopes!
Try making these with old junk mail, newspapers, or paper bags! See just how small you can make them. I bet they get cuter the tinier they get. You can also hang them on your wall like we did with your goals for the new year, and fold the envelope closed when you’ve accomplished something — now that will feel good!
Thanks for crafting with me!
xx.


love this diy! 🙂
Thanks so much — it was really fun!
xx.